- What You Get From This control-repo
- Repository Layout
- Continuous Integration Examples
- Working With Site Modules
- Bolt Project
- Hiera and Plan Data
- Copy This Repo Into Your Own Git Server
- Code Manager Setup
This is a template control repository with the minimum scaffolding needed to get started with r10k or Puppet Enterprise's Code Manager.
The important files and items in this template are as follows:
- Basic examples of roles and profiles, packaged as PDK modules.
- An
adhocPDK module for tasks and plans that do not fit into a specific role or profile. - Example Puppet language and Ruby functions with unit tests.
- An example Puppetfile with various module references.
- An example Hiera configuration file and data directory with pre-created
common.yamlandnodesdirectory. - The Hiera hierarchy matches the default hierarchy that ships with PE.
- The Hiera configuration also includes a Bolt
plan_hierarchyexample and commented eyaml configuration guidance. - An environment.conf that configures the site module path and config_version script.
- An example config_version script that outputs the git commit ID of the code that was used during a Puppet run.
- An example Bolt project.
- Example CI pipeline templates for GitHub Actions, GitLab CI, Azure Pipelines, and Bitbucket Pipelines.
Here's a visual representation of the structure of this repository:
control-repo/
├── .github/
│   └── workflows/
│       ├── ci.yml.example          # GitHub Actions workflow.
│       └── pdk.yml.example         # Reusable PDK workflow.
├── bolt/                           # Bolt project directory.
│   ├── plans/                      # Bolt project only plans directory.
│   ├── tasks/                      # Bolt project only tasks directory.
│   ├── bolt-project.yaml           # Bolt project config.
│   └── inventory.yaml              # Bolt target inventory.
├── data/                           # Hiera data directory.
│   ├── nodes/                      # Node-specific data goes here.
│   ├── plan/                       # Bolt plan data.
│   └── common.yaml                 # Common data goes here.
├── manifests/
│   └── site.pp                     # Main manifest.
├── scripts/
│   ├── config_version-r10k.rb      # r10k deployment metadata.
│   ├── config_version-rugged.rb    # Puppet Enterprise rugged helper.
│   └── config_version.sh           # Selects a config_version helper.
├── site-modules/                   # Site modules in $modulepath.
│   ├── adhoc/                      # PDK task and plan examples.
│   ├── profile/                    # Profile classes and functions.
│   └── role/                       # Role classes that compose profiles.
├── .gitlab-ci.yml.example          # GitLab CI example pipeline.
├── azure-pipelines.yml.example     # Azure Pipelines example pipeline.
├── bitbucket-pipelines.yml.example # Bitbucket Pipelines example pipeline.
├── LICENSE
├── Puppetfile                      # External modules for deployment.
├── README.md
├── environment.conf                # modulepath and config_version.
└── hiera.yaml                      # Hiera hierarchy.
The repository includes example CI definitions for several common git platforms:
- GitHub Actions:
.github/workflows/ci.yml.exampleand.github/workflows/pdk.yml.example - GitLab CI:
.gitlab-ci.yml.example - Azure Pipelines:
azure-pipelines.yml.example - Bitbucket Pipelines:
bitbucket-pipelines.yml.example
These examples run PDK validation and unit tests for the adhoc, profile, and role modules using the puppet/puppet-dev-tools:puppet8 container.
To use one, copy or rename the relevant .example file into the filename expected by your CI provider.
For GitHub Actions, remove the .example suffix from both workflow files because ci.yml calls the reusable pdk.yml workflow.
The sample pipelines run on the production branch and on pull or merge requests targeting production.
If your Puppetfile or module fixtures need private Forge access, configure the FORGE_KEY secret or variable in your CI system.
The modules under site-modules/ are PDK modules.
Work from the individual module directory when running PDK commands:
cd site-modules/profile
pdk validate
pdk test unit
The included modules demonstrate these patterns:
adhoccontains example Linux and Windows tasks, an example Bolt plan, and specs for task metadata and plans.profilecontains example profile classes, Hiera-backed data, Puppet language functions, Ruby functions, and unit tests.rolecontains example role classes and tests for composing profiles.
The bolt/ directory is a local Bolt project.
Its bolt-project.yaml exposes the control repo's site-modules and modules directories to Bolt and points Bolt at the root hiera.yaml file.
Use bolt/plans/ and bolt/tasks/ for plans and tasks that belong only to this Bolt project.
Use site-modules/adhoc for tasks and plans that should be packaged and tested as a Puppet module.
The root hiera.yaml includes the standard node and common data hierarchy:
data/nodes/%{trusted.certname}.yaml
data/common.yaml
It also includes a Bolt plan_hierarchy example that reads from data/plan/common.yaml.
This keeps plan-specific data separate from catalog data and avoids relying on per-target facts when Bolt runs outside an apply block.
The bottom of hiera.yaml contains a commented eyaml example for encrypted Hiera data, including the Puppet Server gem installation command, key generation step, and sample eyaml_lookup_key configuration.
To get started with using the control-repo template in your own environment and git server, we've provided steps for the three most common servers we see: GitLab, Bitbucket, and GitHub.
- Install GitLab.
- After GitLab is installed you may sign in with the
rootuser. If you didn't specify a custom password during installation, a temporary password is located in/etc/gitlab/initial_root_password. - Make a user for yourself.
- Make an SSH key to link with your user. You’ll want to do this on the machine you intend to edit code from, such as your local workstation or laptop.
- Create a group called
puppet(this is case sensitive). - Add your user to the
puppetgroup as well. - Create a project called
control-repo, and set the Namespace to be thepuppetgroup. - Clone this control repository to your laptop/workstation:
git clone <repository url>cd control-repo
- Remove this repository as the origin remote:
git remote remove origin
- Add your internal repository as the origin remote:
git remote add origin <url of your GitLab repository>
- Push the production branch of the repository from your machine up to your git server
git push origin production
- Install Bitbucket
- Make a
Projectcalledpuppet(with a short name ofPUP) - Create a repository called
control-repo - Create a user called
r10kwith a password ofpuppet.- Make the r10k user an admin of the
PUPproject.
- Make the r10k user an admin of the
- Either use the admin user to test pushing code, or create a user for yourself and add your SSH key to that user.
- If making a user for yourself, give your user account read/write or admin privilege to the
PUPproject.
- If making a user for yourself, give your user account read/write or admin privilege to the
- Clone this control repository to your laptop/workstation
git clone <repository url>cd control-repo
- Remove this repository as the origin remote
git remote remove origin
- Add your internal repository as the origin remote
git remote add origin <url of your Bitbucket repository>
- Push the production branch of the repository from your machine up to your git server
git push origin production
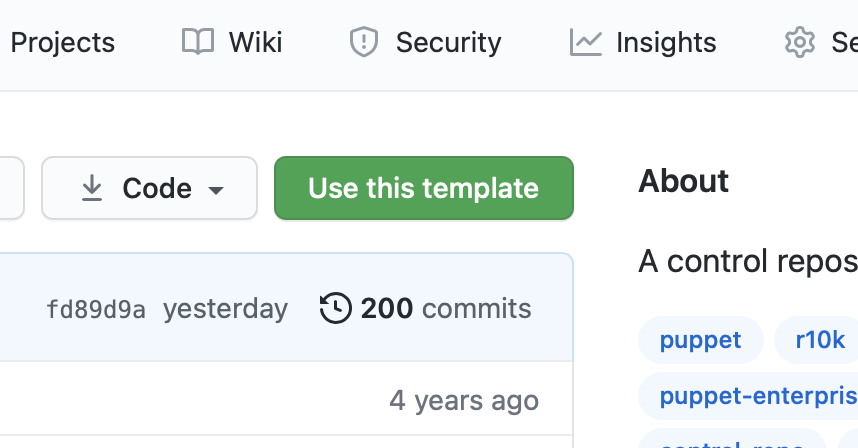
Follow GitHub's documentation to create your control repository starting from this template.
- Prepare your local git client to authenticate with a local GitHub Enterprise instance.
- Create a repository called
control-repoin your user account or organization. Ensure that "Initialize this repository with a README" is not selected. - Make a note of your repository URL, using HTTPS or SSH depending on your security configuration.
- Clone this control repository to your laptop/workstation:
git clone <repository url>cd control-repo
- Remove this repository as the origin remote:
git remote remove origin
- Add your internal repository as the origin remote:
git remote add origin <url of your GitHub repository>
- Push the production branch of the repository from your machine up to your git server
git push origin production
If you use Puppet Enterprise, see the official documentation for enabling Code Manager.